Getting started in GHPC
The player-controlled units in Gunner, HEAT, PC! share common controls and gameplay - you can learn them once and then switch to a new vehicle and already know most of what you need. This guide will explain these universal concepts.
To get help with using a specific vehicle's gunnery systems, see the GHPC gunnery guides.
NOTE: There is a control reference list in the game. Hold F1 during a mission to show it.
Contents
Driving
Camera views
Basic aiming
Gun sights: zoom levels and night optics
Gun sights: reading and adjusting range
Gun sights: laser rangefinders
Gun sights: lead, dumping lead, and delta-D
Ammo selection
Ammo transfer and restocking
Choosing the right type of ammunition
Battle damage and losing a vehicle
After-action review (AAR)
Missions
Additional features
Supporting the project
Driving
Vehicle movement is controlled via the traditional WASD key setup. W and S control throttle (as well as brake and reverse), while A and D control steering. Gear shifting is handled automatically by the AI driver.
In vehicles with separately aimed turrets, you can monitor the orientation of the hull and turret via the indicator on the lower left of the HUD.
Camera views
There are two categories of camera views: free look and fixed. Typically, a vehicle will have fixed views in the form of gun sights and optics, as well as free look views including the commander's unbuttoned view.
To switch between the two modes, use the left Shift key. You can select the preferred view within each category by cycling through them with the C key.
Map
To orient yourself at any time during a mission, press M to bring up the map. The map can be panned with left mouse and zoomed with the mouse wheel. It depicts your current location, important objective locations, and terrain contours. You can also use the buttons on the map view to review the mission briefing or to call for support in some missions. Note that the map is not available in firing ranges.
Command mode
In missions that have command mode enabled, the map is also your hub for viewing and changing the friendly forces' orders. A brief controls reference for this mode is available on the left side of the map before the mission start button is activated.
To manipulate the plans, move waypoint nodes by dragging them with the left mouse button. You may also right-click a node to add or change "modifiers", which are extra commands that will activate when a group reaches that waypoint.
You can also add new waypoints to the end of the plan by using LCtrl and left mouse click at the same time. This works even when a group's plan is fully deleted, as long as you select the group on the map first.
Basic aiming
The mouse controls the currently selected weapon system (you can see which one this is in the lower left corner of the screen, and you can switch weapons quickly with F or cycle through all available weapons with the square bracket keys [ ] ). From exterior views, such as the chase cam and the commander view, you can direct the gunner's aim in the direction you're looking by right-clicking. There is no crosshair for this kind of view, as the gun sights are the preferred method of aiming. The directional cursor in free look views is projected to a fixed distance and will not be accurate for gunnery.
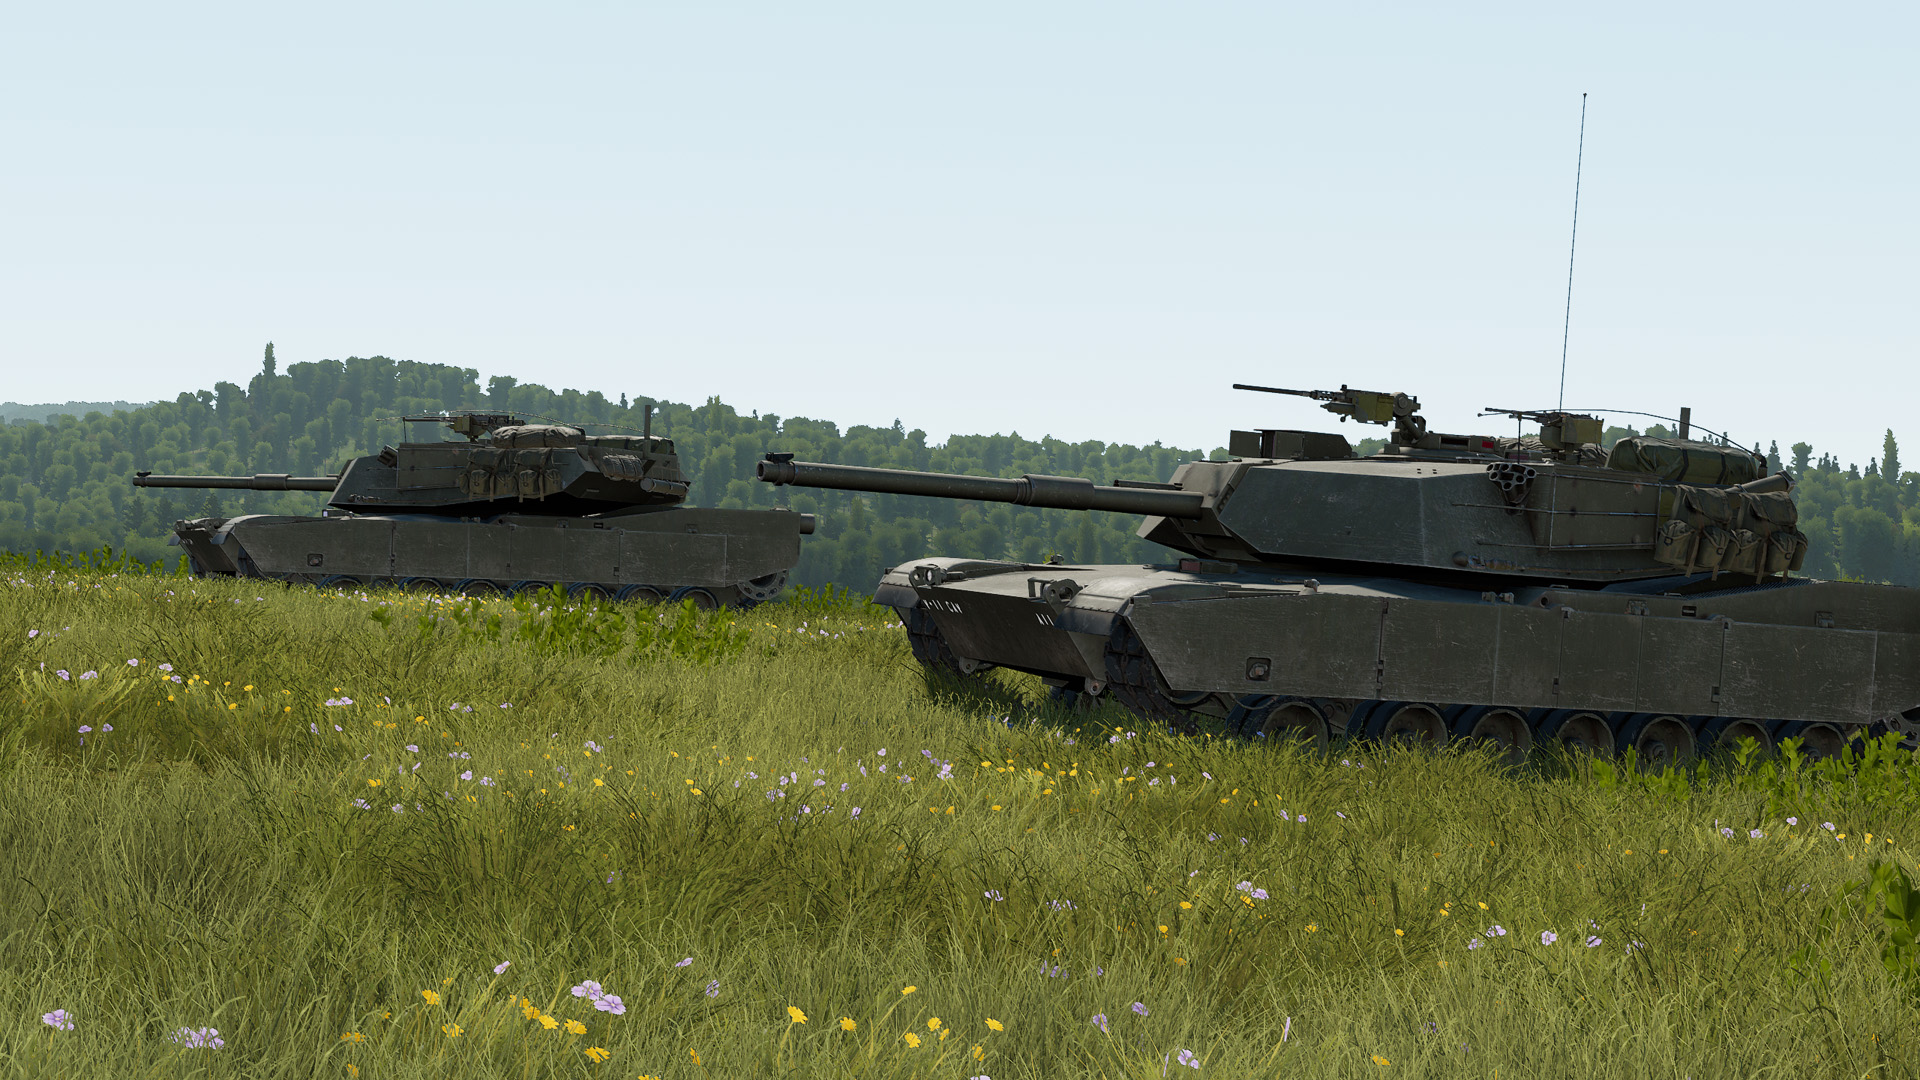
The primary purpose of exterior views is to scan the surroundings and spot targets. There are no enemy markers in your HUD, so you will need to find targets using whatever visual methods are available, from commander view to magnified optics or thermal sights.
Above: While in the commander view, you can use the mouse scroll wheel to zoom in and observe
The gun sight is accessed with the Shift key, as noted above in the section on camera views. While in this view, you can aim the current weapon system smoothly by holding the right mouse button and dragging the mouse in a direction.
Note: this is not a traditional free aim system - you do not drag the mouse to your target. Instead, the mouse is turned into a control stick. The distance and direction you move from where you clicked will determine how your aim response moves. To aim faster in a direction, move the mouse farther in that direction; to slow down the motion, move the mouse back toward where you clicked. If you let go of the mouse button, or move the mouse back to the exact place it was in when you clicked, your aim will stop adjusting.
An arrow will appear on your screen below the center of the gun sight to show your aim intensity. If you prefer not to see this, you can toggle the indicator off in the Options menu's Input tab.
If the "invert aim control" setting is enabled, the aim control will be reversed, so the right mouse button releases the aiming instead of activating it. Exercise caution when using inverted mode - it may feel easier to not need to hold another button, but it will also be easy to let the aim point "drift" due to small deviations in mouse position, and you'll also need to actively remember to tap RMB to dump lead when using fire control systems with automatic lead. Failure to properly dump lead with this aiming mode will lead to plenty of missed shots where it feels like the tank is "fighting" you or throwing shots wide. This is especially noticeable at long range, and doubly so in the M60A3 (since its aiming reticle doesn't update continuously for new traverse rates and may retain a bad offset without your noticing).
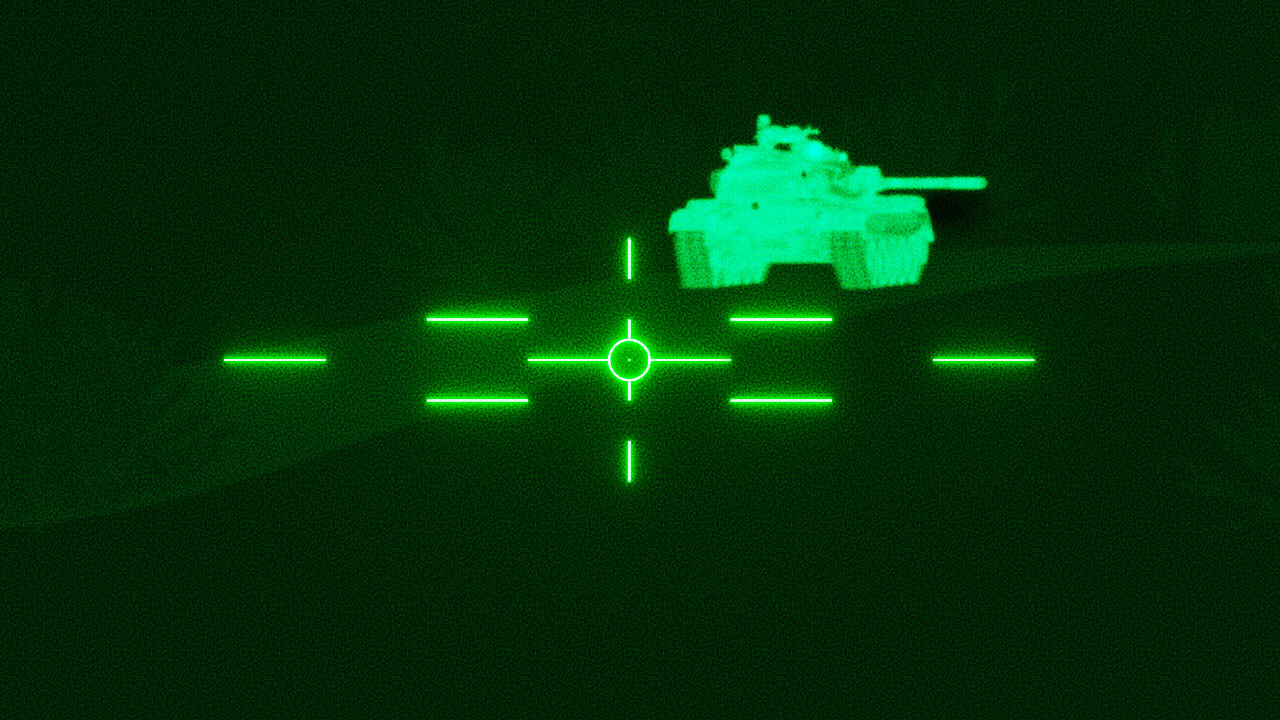
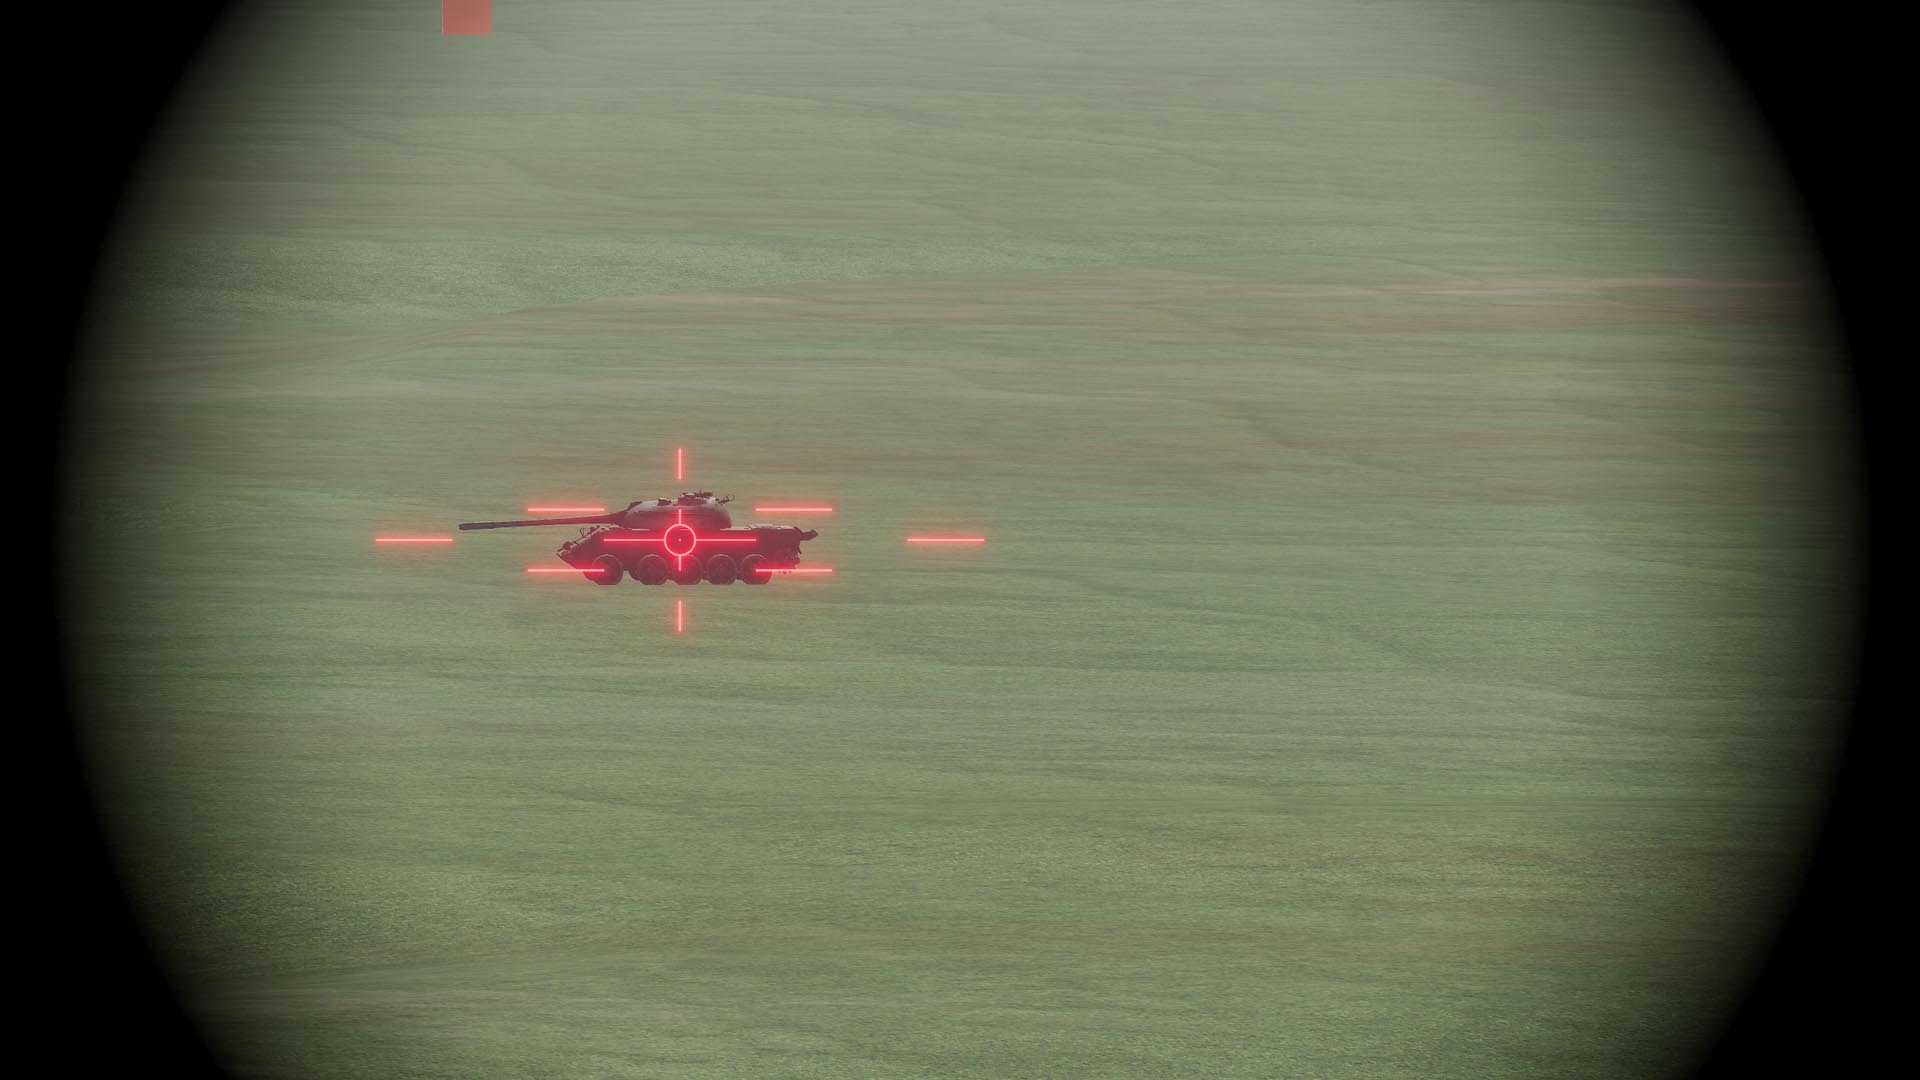
Gun sights: zoom levels and night optics
Certain sights have extra features. To zoom in, use the mouse scroll wheel. To switch to the night sight, press T. Some optics (such as the night vision sight on the T-55A) are covered during the day and will appear solid black while covered. This is not a bug. To use these, play a night mission, where the tank will be automatically configured for low light.
Many day sights also have a low-light illumination feature. To illuminate the reticle, press I (i).
Gun sights: reading and adjusting range
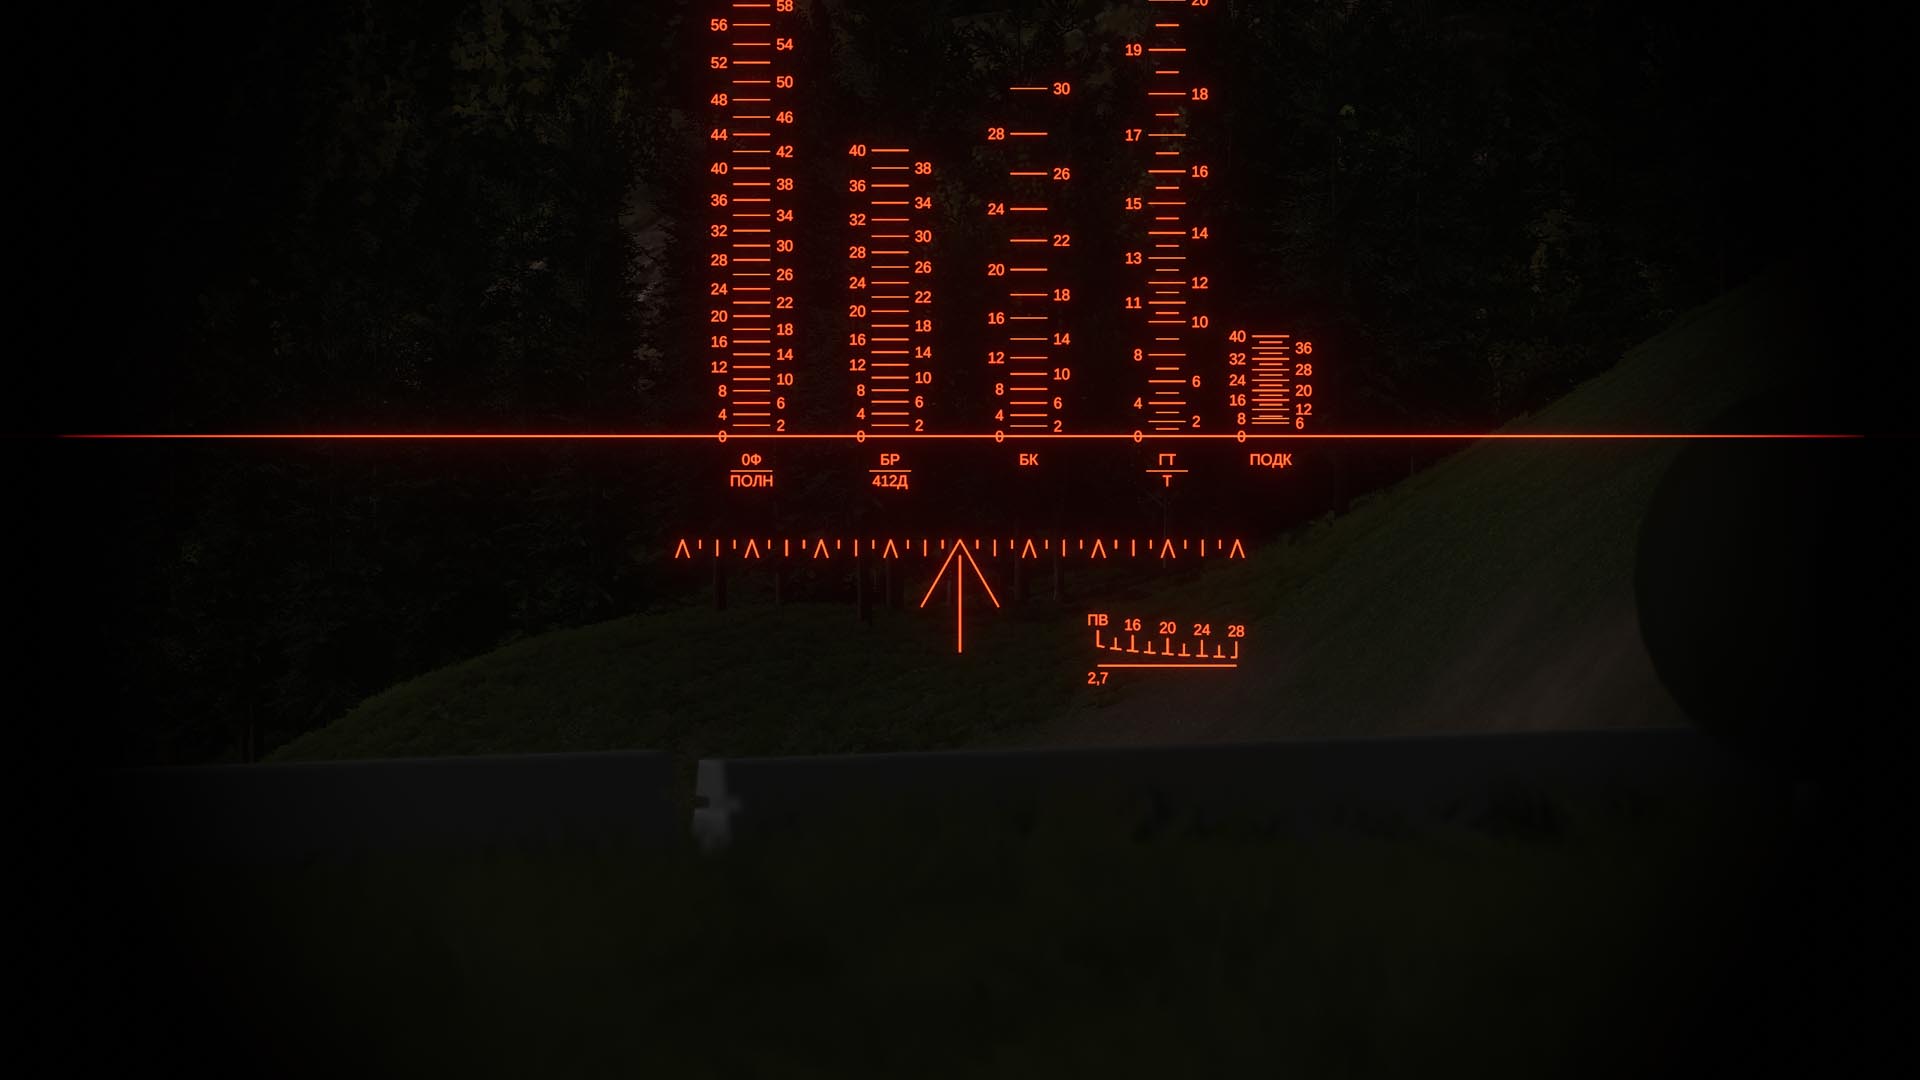
Many of the vehicles in GHPC have the ability to adjust the range setting of their gun sights. Setting the correct distance to a target will allow you to aim the reticle directly at the target and score a hit, even at long range. In GHPC, the default range controls include two options: left Ctrl + mousewheel, or PgUp and PgDown. The currently set range is displayed in the weapons HUD in the lower left corner of the screen. Reading and adjusting this range directly will allow you to use most gunnery systems even if it's difficult to read the reticle symbology (the T-55 is the most relevant example of this).
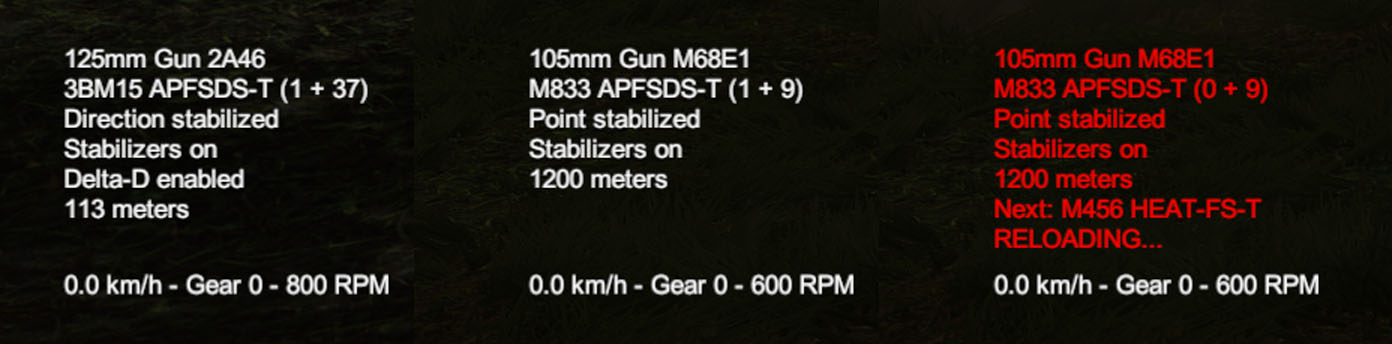
Above: The weapons HUD in some of its possible states
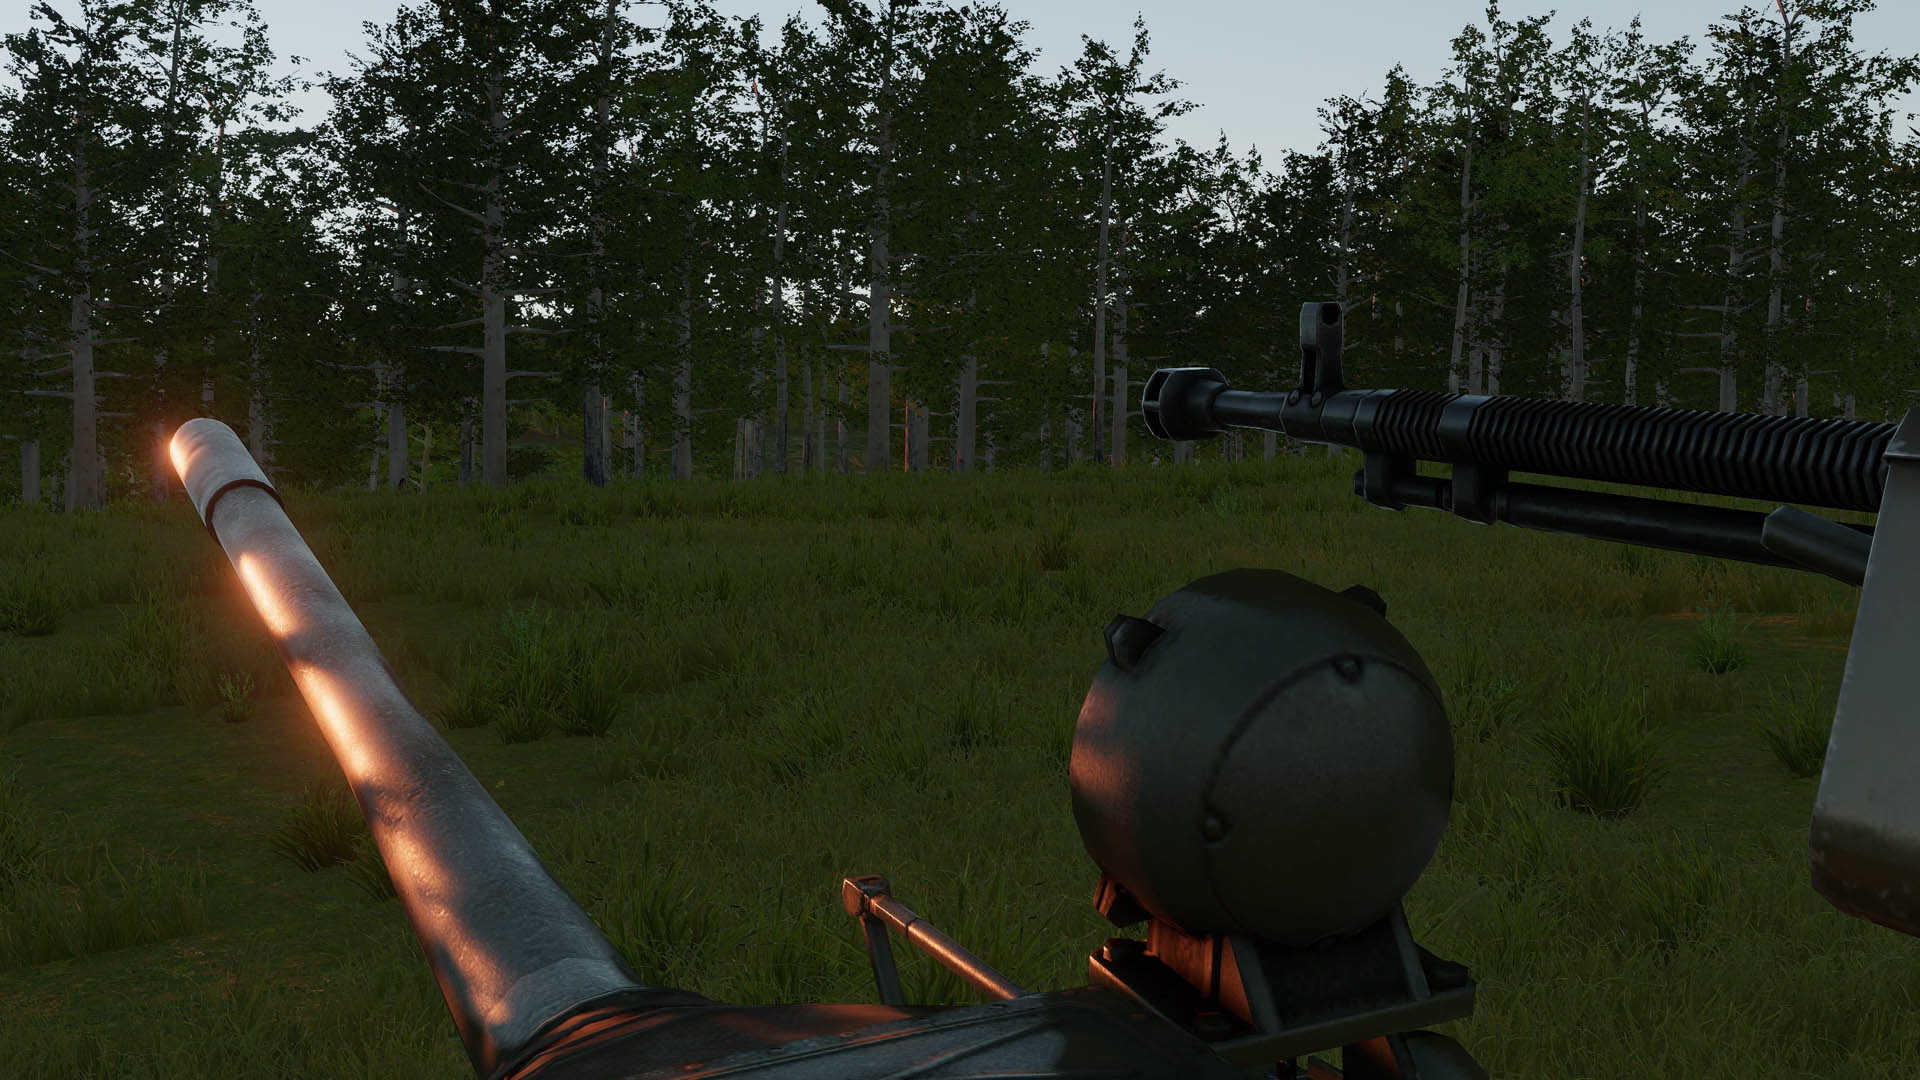
Many fixed reticles have numerical labels to show which distances the markings are for. These numbers are typically given as multiples of 100 meters, so a label that says "6" means 600 meters. Aiming with this type of reticle works like a basic scope and requires no other adjustment aside from placing the correct markings on the target.

Above: the gun sight reticle of the BRDM-2, showing labeled range markings from point blank range to 2000 or 1500 meters for the KPVT and PKT respectively
Gun sights: laser rangefinders
Modern armored fighting vehicles often have the ability to quickly measure range via a laser pulse. The distance detected by the laser rangefinder is automatically sent to the fire control system (FCS) and used to correct its range setting. The action of measuring range in this way is sometimes referred to as "lasing". In GHPC, you can lase with the E key by default.
Above: The M60A3 TTS is equipped with a laser rangefinder. Placing the reticle's center dot on a target and pressing E will feed the correct range to the FCS.
Gun sights: lead, dumping lead, and delta-D
Fire control systems often include features intended to automatically adjust the gunner's aim for certain situations, such as moving targets. Lead (pronounced "leed") is the horizontal shift in aim direction required to shoot where a moving target will be when the shot reaches the right distance, so that it hits the target despite the travel time. In GHPC, vehicles with automatic lead typically activate this feature automatically when you lase. An example is the M60A3 TTS, which applies the last 1.5 seconds of aim movement as lead when you lase.
Above: Lead offset applied to the gun sight of the M60A3 TTS while aiming at a stationary target. This lead was applied erroneously by traversing and lasing in quick succession and will need to be dumped.
Sometimes you will not want to use a lead offset anymore. To straighten out your aim again, you must "dump" (reset) the lead. This is accomplished by releasing the aim control (right mouse button), much like the gunner's controls in a real tank. This and other FCS features can be found in the quick menu (Q) as well, in case you forget their key shortcuts. (Note: if you use inverted aim control, you must tap the button to dump lead, rather than releasing it.)
Occasionally, an FCS will have the ability to automatically adjust your range as you drive toward or away from your current aim point. This adjustment is called "delta-D", where "delta" means "change" and "D" means "distance". In GHPC, delta-D is usually automatically applied after a lase. An example of a vehicle with this feature is the T-72M1. You can cancel delta-D via the shortcut Ctrl+E.
Ammo selection
Some of the vehicles in GHPC have standard ammunition loadouts that include a variety of ammo types. You will start missions with the first type loaded. If your vehicle has more to choose from, you can access them with the number keys (1, 2, 3, etc.), along the top of the keyboard. Selecting a new ammo type does not immediately load it; instead, it queues it up for the loader to select next time the gun is fired and emptied. For dual-feed autocannons like the 25mm on the M2 Bradley, the selection will be completed after the currently chambered shot is fired. The exception to this rule is when your tank has an empty gun breech, such as when using manual loading mode - choosing an ammo type with the keyboard will attempt an immediate reload with the chosen ammunition.
Ammo transfer and restocking
After you fire several shots, you may find one or more ammo types depleted from your ready rack. To solve this, you will need to move more ammunition in from the reserve racks throughout the vehicle. The restock command is accessible via the quick menu (Q).
During the restock, your crew will be busy moving ammunition. The turret and stabilizers will be locked for crew safety. If the transfer completes, or you cancel it manually, full control will be restored - though you may need to let your crew finish handling the current ammunition before the process ends.
Note that restocking ammunition may not always be the best option - if you are in the middle of a fight, loading the second best ammo type via the number keys and continuing to engage might be more effective than waiting on a restock of the primary ammo type.
Choosing the right type of ammunition
With so many types of ammo to pick from, it can be hard to decide what to use at what times. Here is a brief and oversimplified summary of ammo types.
APFSDS (a.k.a. sabot, KE, fin, dart, or subcaliber)
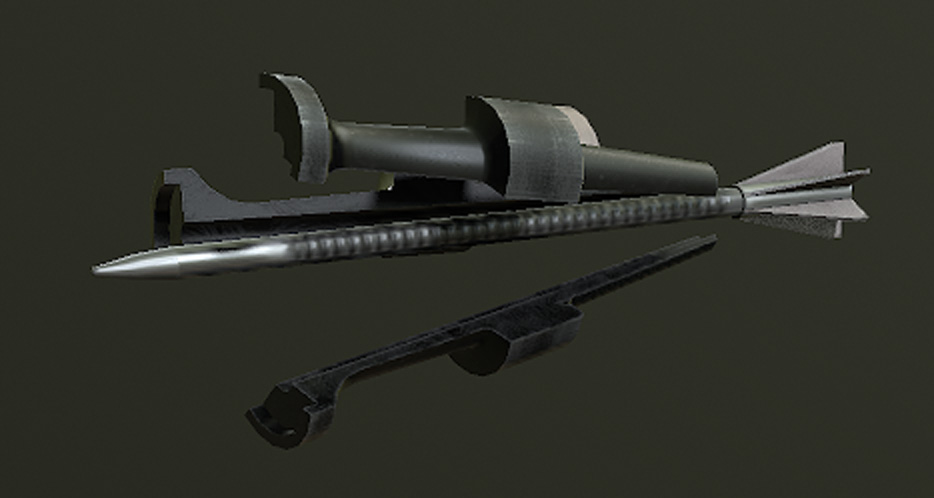
The Armor Piercing, Fin-Stabilized, Discarding Sabot design is a dedicated anti-tank munition. It consists of a dense metal dart held in place by a breakaway collar (the "discarding sabot") to allow it to fill the gun barrel's full diameter. After firing, the sabot falls away, and the dart is left to fly at high speed directly into the target. It relies on sheer overpowering energy to break through armor, and its kill mechanism is shearing off pieces of debris (as well as its own remnants) that spray the inside of the target in a cone shaped area.
In GHPC, you should select APFSDS ammunition when you are engaging enemy tanks, or when you want to take advantage of its short flight time and fairly flat trajectory to help you score a hit. You should not rely on it against infantry or other small targets that require a weapon with an area of effect.
HEAT-FS
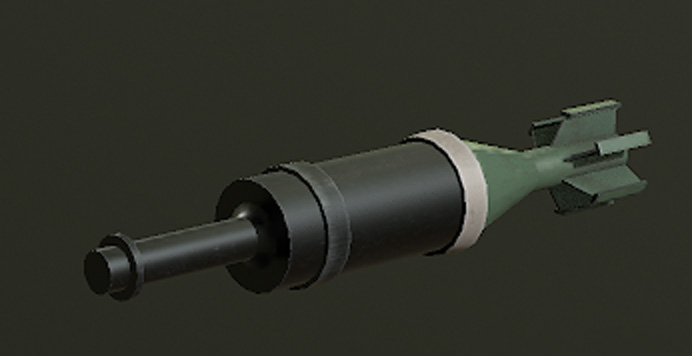
A strong choice for medium duty, High Explosive Anti-Tank (Fin Stabilized) combines decent anti-armor capability with a respectable amount of blast damage, and sometimes even a fragmentation sleeve for extra punch against light targets. This type of round works by detonating an inverted cone liner (usually copper) in such a way that it focuses into a thin, extremely energetic stream of superplasticized material. This "jet" is nearly instantly accelerated to high speeds, boring deep into whatever armor is in its way. The jet functions much like a kinetic penetrator after that, creating dangerous "spall" fragments from the entry point. Due to the fact that the penetrator is created by combustion (a chemical reaction) rather than the kinetic energy of the round, HEAT rounds are sometimes referred to as using chemical energy, or CE.
In GHPC, HEAT-FS is a strong choice against tanks that lack composite or reactive armor, as it can pierce a substantial thickness of ordinary armor steel. You can also use it against lightly armored or unarmored targets effectively. Of special note is the fact that HEAT-FS does not rely on the speed of the round to be effective, making it an ideal choice for very long ranges if you can hit the target.
HE
Perhaps the simplest kind of contemporary tank munition, the High Explosive round relies primarily on its explosive charge and fragmenting case to cause damage to lightly armored or unarmored targets. HE rounds unleash dense fragment clouds, strong concussive overpressure waves, and plenty of heat and noise. They come in a wide variety of specific configurations, including HE-Frag, which is designed to produce maximum fragmentation debris, or APHE (armor piercing high explosive), which is built extra sturdy to defeat a certain amount of armor before exploding. HE rounds often also have impact fuses with a tiny amount of delay, so if they punch through an obstacle, they can fly into the protected space before detonation.
In GHPC, HE rounds are the weapon of choice against infantry, emplacements, buildings, and unarmored vehicles. In addition, their strong blast force can destroy sensitive equipment, like optics and lamps, on even the strongest tanks. And last but not least, APHE can be devastating when used against weaker armor that it's capable of defeating.
HESH
There is one unique variation on the HE round, which is the "HESH" (High Explosive Squash Head) or "HEP" (High Explosive Plastic) round. This type of ammunition is featured in the standard loadout of some Leopard 1 variants. Unlike standard HE shells, these rounds have a softer explosive head in the front of the projectile, which deforms and spreads out in the split second after striking a hard target. The subsequent detonation shocks the armor plate, ideally blasting a large "scab" of material off the back side and into the target's interior.
HESH rounds are quite particular about what kind of armor they can successfully defeat. The armor surface must not be too thick to crack. It must not be extremely sloped. And most importantly, it must be homogeneous and not reinforced with additional layers. If these conditions are all satisfied, an armor scab will be blasted off in the "normal" direction - away from the face of the armor, rather than at the angle of the shot.
The result of these mechanics is that any composite armored target in GHPC will be largely immune to HESH from the frontal aspect, and even hits on the non-composite areas will require some luck to produce a damaging effect. The round is best used against lightly armored or unarmored targets, the same as traditional HE.
ATGMs

The Anti-Tank Guided Missile is a staple of modern combat. Packing a strong HEAT warhead into a tube launched missile, this weapon system is a dangerous threat to targets of all types. ATGMs are steerable, often by simply aiming a weapon sight at the target, which makes them much easier to use than other compact anti-tank systems. With a clear line of sight and a safe firing position, ATGMs have a very high chance of hitting and disabling their targets.
In GHPC, ATGMs are a feature of both vehicles and infantry emplacements. If you're moving through open ground in enemy territory, you'll need to keep a sharp eye out for these, as even one hit can ruin your day.
Note that ATGMs may have special guidance methods or flight modes - the BMP-1's "Malyutka" and the T-64B or T-80B's "Kobra" are examples of this. Refer to the gunnery guides for full instructions and tips on using the missiles effectively.
Battle damage and losing a vehicle

Combat in GHPC is unforgiving. Damage to your vehicle's systems is evaluated in detail, along with its consequences. At times, those consequences will make it difficult or impossible to continue the mission. Vehicles in GHPC are considered neutralized when they are functionally ineffective, have an uncontained fire, or have been shot through enough times to induce a panic. If the crew are still alive when this happens, they will attempt to evacuate. This is represented by the vehicle stopping and the hatches opening. (Note that the hatches can also be blasted open by overpressure, so a hatch opening is not a guarantee of crew bail-out!)
For personnel carriers currently transporting an infantry squad, the vehicle is only considered ineffective if it can no longer move nor shoot. In all other cases, simply rendering a vehicle unable to shoot will be enough to make the crew abandon it.
If your vehicle is neutralized or heavily damaged and you still wish to proceed with the mission, simply press Tab to bring up the vehicle menu, and choose a new vehicle to possess if any are available. There are no repair mechanisms during missions in GHPC.
After-action review (AAR)

It would be a shame to simulate the interaction of munitions and armor in so much detail and never show it off. Thus, we've provided the AAR mode, activated by pressing the End key or selecting "End Mission" from the Esc menu. AAR mode permanently ends a mission, so only use it when you're finished and want to see what happened. You will be able to use the on-screen controls and information to view and understand each shot in depth. Spall fragments are color-coded according to energy: yellow for stronger, red for weaker - but even the red fragments are potentially lethal. Main shot paths are marked in alternating white and light gray segments to show time steps. The penetrating jets from detonated HEAT warheads are rendered in magenta. You can use the indicated keys to focus instantly on the shooter or the first target, or "ride" the shot path freely.
NOTE: AAR mode is attempting to show you a long shot path that happened over a period of time, while also showing a frozen "snapshot" of vehicle positions at one moment in time. As a result, some parts of the shot path will not match where the vehicles are. The synchronization is done when the shot first strikes a solid object. This means that, when firing on moving targets and missing, it's possible to produce a shot path in AAR that passes through a vehicle. This is not a bug. The AAR is showing you where the vehicles were when the shot hit the terrain since nothing else interesting happened during that shot. The best way to avoid strange AAR traces is to hit your targets directly.
Missions
The game is still in early access and does not yet have all the game modes we would like to add. For now, you can play several "instant action" skirmish missions. These are organized by which map they take place in. To select a different map, use the drop-down menu above the mission list. You can choose which friendly unit to control by switching units with the Tab key during the mission.
There are also firing range maps where you can drive different vehicles around a course and shoot at range targets. These can be useful for learning the gunnery systems and practicing your technique.
Campaign
There is currently an early placeholder form of a campaign mode. It features semi-random missions and a basic goal of wearing down the enemy's forces before they can do the same to yours. This is not the final game flow design and will change significantly in the future, as indicated on the roadmap.
Campaign save files are manually saved and loaded via the buttons below the campaign map. Currently, the only way to make a campaign mission count progress is to achieve a mission result (getting the on-screen prompt to view AAR) and then manually save the campaign from the campaign map screen after the battle. Exiting a campaign mission without triggering a result will not create progress.
Additional features
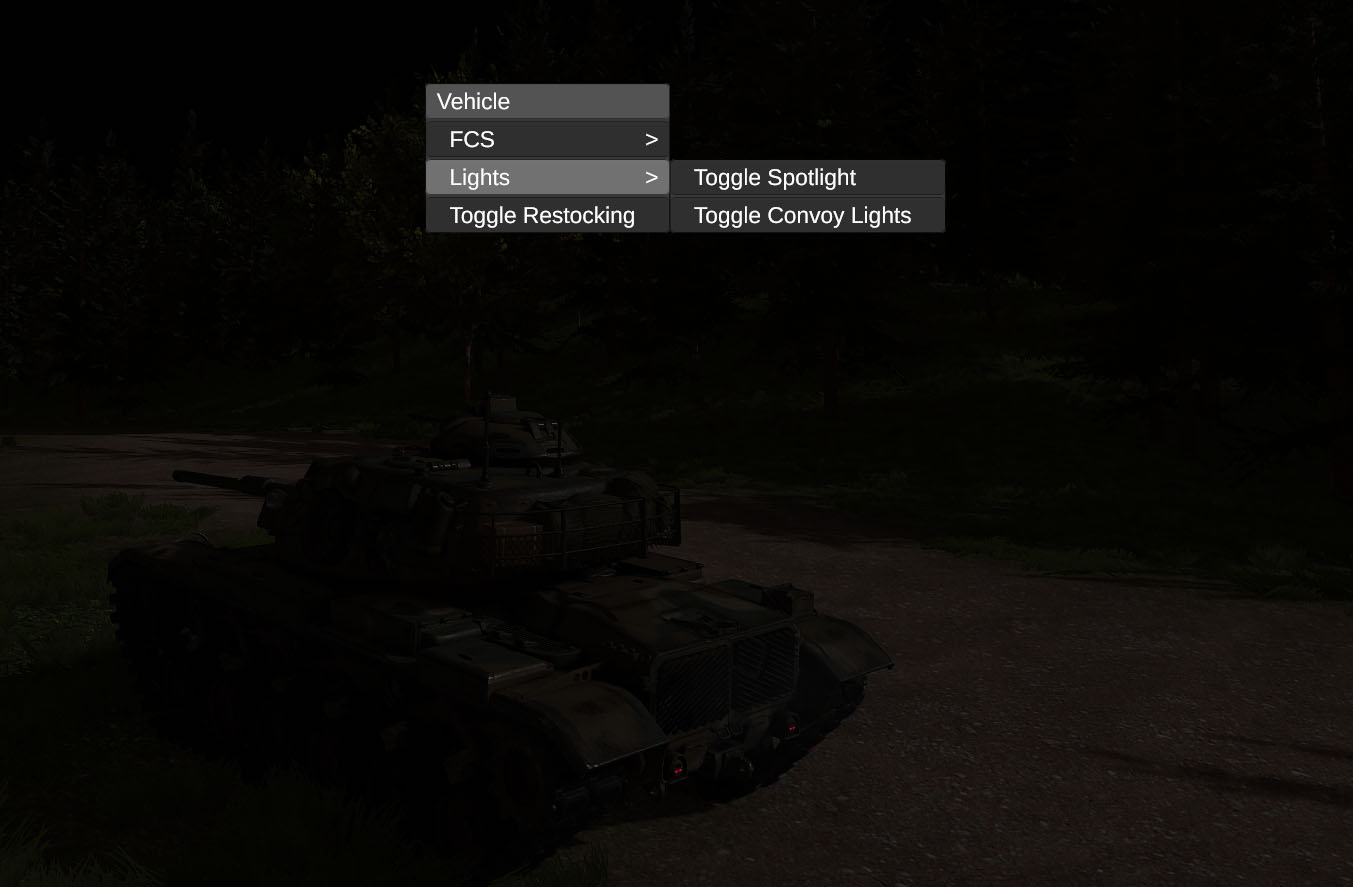
Using the quick context menu (Q), you can control several minor features of some vehicles. These include spotlights, convoy markers, and FCS features.
Time scale can be adjusted using the plus (+) and minus (-) keys on the top of the keyboard. This can be especially useful when paired with "free cam" mode, toggled using the F3 key while in any exterior view. Free cam has the following controls:
Movement (always level with horizon) - WASD
Rise/sink - Space/Ctrl
Flight speed - Mouse scroll
Field of view - Shift + Mouse scroll
Reset field of view (FOV) - X
Fire current weapon - Shift + Left click
Smooth pan and FOV - Hold right click
You can toggle the HUD using a hidden key combo: Ctrl + F1. This is intended for debug or cinematic use and may break some mouse interactions, so use it with caution.
If you make cinematics using these tools, feel free to post them on the GHPC Discord server! We enjoy seeing the creative fan content people come up with.
Supporting the project

GHPC is an ambitious effort by a small independent team of tank enthusiasts. We have a passion for delivering quality simulation gaming content, but that comes at a cost, and without a publisher or investor, we rely entirely on the community for support. If you like what we're doing and want to speed us on our way, consider buying the game on Steam or supporting the project on Patreon! Your generosity directly builds toward the future of the game.
Patreon supporters get access to special perks, such as exclusive previews, monthly Q&A sessions, and development streams.
https://www.patreon.com/gunnerheatpc
You can also help us by helping other tank game fans find out about GHPC. At this time, we rely mainly on word of mouth for exposure. Tell your friends, and if you have an audience that might be interested in this project, consider sharing it with them too!